Dropped off the car at the dealership so that two TSB/Recalls could be resolved.
First one is the air bags. The parts are on hand now and can be installed.
The second one is the timing belt and belt tensioner. Parts are available and can be installed.
Service department told me it would take a day and a half just for the timing belt issue. And maybe a half a day for the air bags. So its looking like two days in the shop for the challenger.
Since its in the shop I asked them to take a look at the Check engine light - error code p0016.
Wednesday, May 31, 2017
31 May 2017 - Alternator installation check
Fired up the challenger today to make sure the alternator installation was good and it worked as it should. The battery icon went out and stayed out.
Monday, May 15, 2017
15 May 017 - spark plug change out
Going to be doing a spark plug change-out. The car still has the factory plugs! But it has been running just fine.
Spark plugs - LZFR5C-11 - NGK - F1000424136NGK - plug gap 0.043"
spark plug tool - Gear Wrench 5/8" x 6" Magnetic Swivel Spark Plug Socket Part No. 80546
Spark plugs - LZFR5C-11 - NGK - F1000424136NGK - plug gap 0.043"
spark plug tool - Gear Wrench 5/8" x 6" Magnetic Swivel Spark Plug Socket Part No. 80546
Sunday, May 14, 2017
14 May 2017 - Alternator repairs/replacement
Today I finished installing the alternator. It did not go in as seen on the YouTube videos. So I had to improvise the re-installation process. I ended up having to drain the coolant system and remove the upper radiator hose to install the alternator. I should have just removed that hose for the whole process.
By removing the upper hose, it was waaaaaay easier to put in the alternator, install the cabling and mount it to the engine. Because the alternator is located in that lower front passenger side its some kinda hard to get wrenches/tools to remove/install pieces parts.
Now with a bit of planning it can be done, just take it easy and watch out for the brake lines that are in that area.
I needed 13mm and 16mm ratcheting wrenches to remove/install the mounting bolts of the alternator and the support rod to the motor mount. I needed a 12" flat bladed screw driver.
There is an assembly that connects the air box to the intake manifold. That assembly needs to be removed. Use the screw driver to loosen the two clamps then remove the assembly. There is also a mounting bracket that the assembly mounts to, that needs to be removed(16mm fitting).
The three 16mm bolts that hold the alternator to the engine are fairly easier to get to and loosen. The top of the alternator has one 16mm bolt that fastens it to the engine. The bottom of the alternator has two 16mm bolts next to each other that mount to the lower part of the engine. The lower back of one of the 16mm bolts has a support rod that connects to the motor mount with a 13mm nut.
To remove/install the 13mm nut for that support rod, I ended up using a 13mm ratcheting wrench and a rectangular neodymium magnet. I put the magnet towards the open end of the wrench then used a long flat bladed screw driver with the tip on the magnet so that I could position the closed end ratchet on the 13mm nut from above. Once it was on(believe me that was very easy to place, seeing is believing) it was just a matter of getting on the ground and reach up and twist the wrench to remove/install the nut.
The three 16mm can then be loosened. Because of the location of the alternator the two lower bolts cannot be loosened and removed, so you have to loosen those bolts as much as you can and still get your tool out of the way. The bolts, once loosened can be hand loosened until completely out of the threaded mounting holes. It takes some patience to get those bolts out. Then loosen and remove the upper mounting bolt and hold the alternator while doing that to unload it to make removal easy. Once that top bolt is out the alternator can then be positioned pulley down so that back connections can be removed. I used a piece of card board and tucked it down below the alternator so I had something to rest it on instead of the hoses/electrical wires. One connector is a plug in connector the other is a bolt on, using a 13mm nut. Move the cabling that connected to the alternator out of the way. Now position the alternator and remove each bolt. Keep in mind the bolt that has the support rod has to go back in the same location/position. I just left the support rod on the bolt and removed that as an assembly. During all of this movement of the alternator, be very carefull to not damage the brake lines and hoses. Once all the bolts are out, the alternator can be lifted out passed the upper radiator hose that was disconnected and drained earlier.
Installation is pretty much the reverse, just be super careful of the hoses/lines.
Saturday, May 13, 2017
13 May 2017 - Battery icon Dash Display
Yesterday the battery icon lit up while driving the car. I have seen this error in this way on many vehicles. The error indicates a fault with the charging system. This error is typically caused by a faulty alternator. So I removed the alternator from the car and had a local Auto parts store check the alternator. And as expected the alternator failed the tests. Now I need to install the replacement and run test the installation to make sure everything is working. Its late in the day now so I will do that tomorrow.
Friday, May 12, 2017
12 May 2017 - Warranty...Warranty...Warranty...
Well, the car has about 7000 miles left of the warranty. And today two problems happened. First one is a check engine light with a code P0016 – Crankshaft position/camshaft position, bank 1 sensor A -correlation. That is what the code reader tool kicked out. From the reading I have done about that error this is not a whole lot that I can do to resolve that, but I am still looking into it.
The second error is the battery icon lights up randomly while the engine is running. From what I have read so far about that error and the way its happening it appears to be the alternator.
So I will be busy troubleshooting these issues this weekend.
The second error is the battery icon lights up randomly while the engine is running. From what I have read so far about that error and the way its happening it appears to be the alternator.
So I will be busy troubleshooting these issues this weekend.
12 May 2017
This blog will be about the maintenance/upgrades of the 2012 Dodge R/T Classic.

 |
| Disconnected the battery ground since I will be working on the alternator |

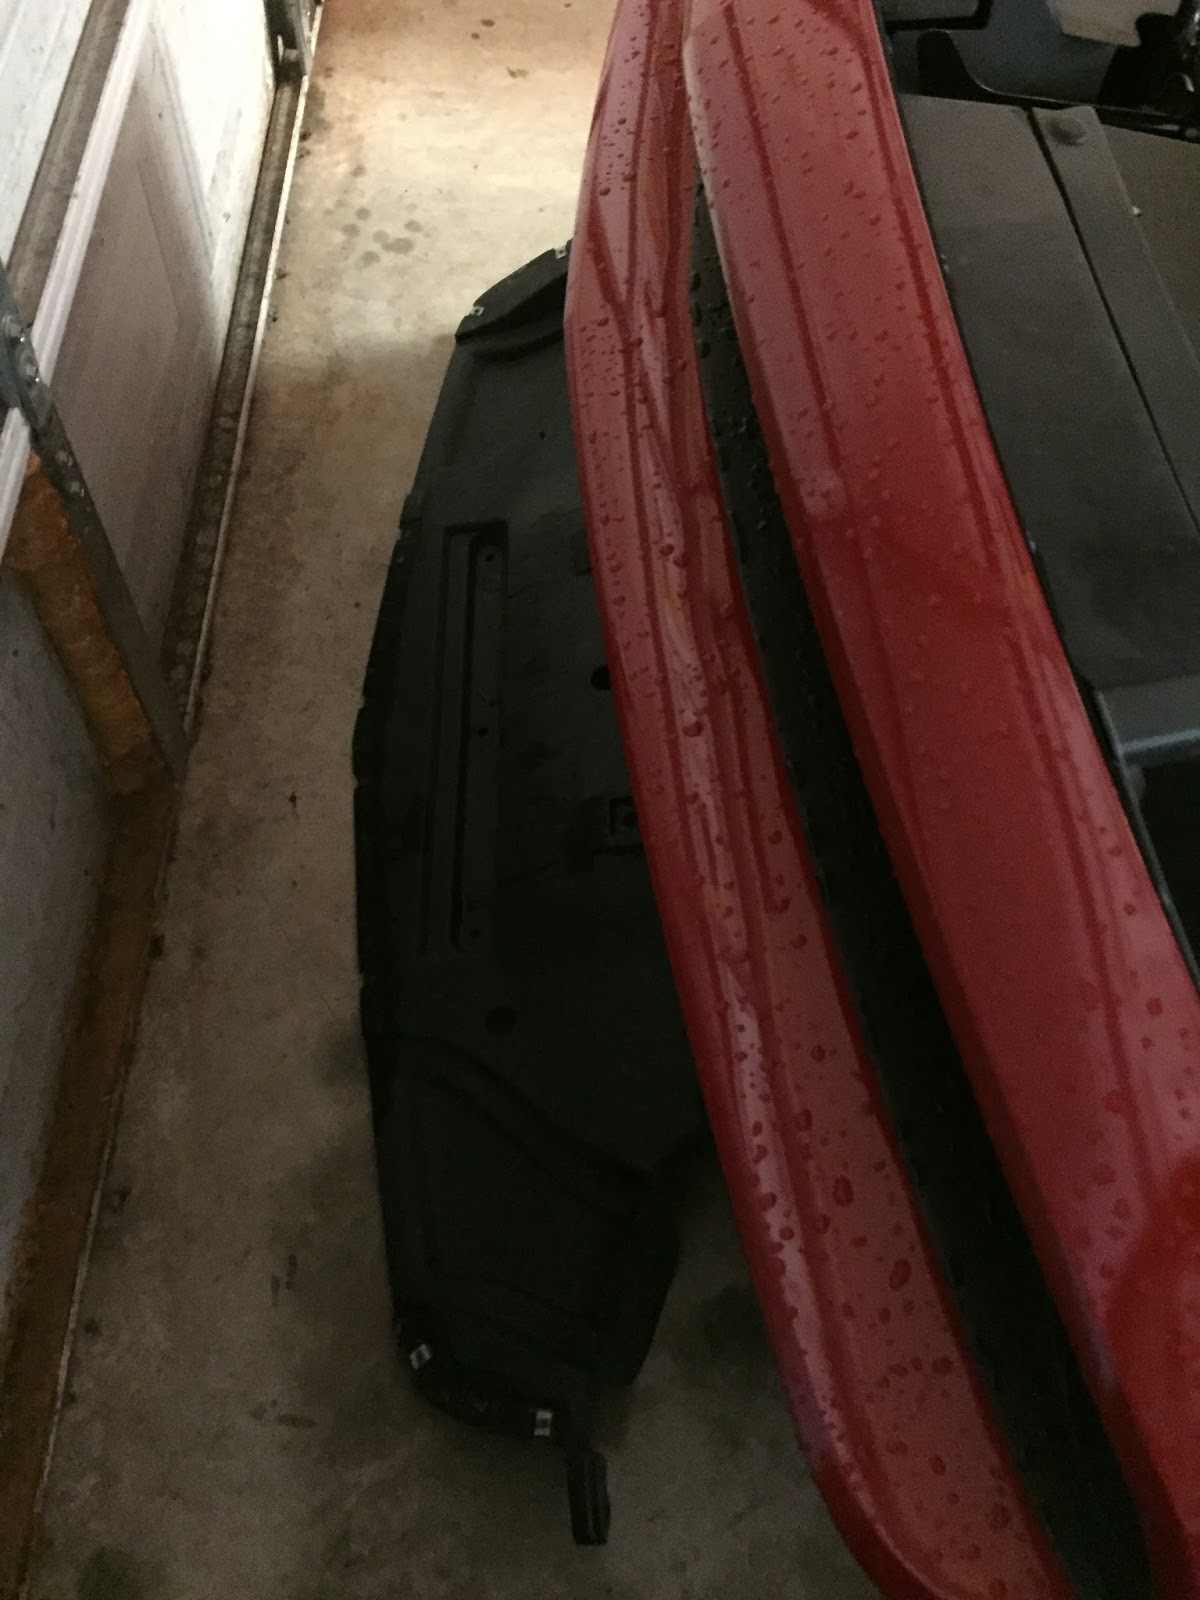 |
| That is the engine bay panel |
 |
| Top view of the alternator, now its easier to see since the lower engine bay panel is removed |
 |
| another shot of the alternator from the top |
Subscribe to:
Comments (Atom)
-
Yesterday, after the car was delivered from the dodge service dept., a clicking noise started coming from the dash after opening the door. ...
-
Yesterday the battery icon lit up while driving the car. I have seen this error in this way on many vehicles. The error indicates a fault ...
-
 Apparently the splash shield under the engine has been removed at some time and never re-installed... So I need to order a replacement uni...